
As for the clay itself, I used a polymer clay called Super Sculpey. It's a very soft material, and it takes a little bit of getting used to, but, once you do, it's really great stuff. On the plus side, it isn't oily (well, not much anyways), it takes great detail, and it is widely used by many professional sculptors and effects artists. But possibly the best things about Super Sculpey is that, after you're through sculpting with it, you can bake it in an oven to make it hard. Once the Super Sculpey is hard, you can sand it smooth and paint it.
For my sketch-sculpt, I used two different grades of Super Sculpey: Super Sculpey and Super Sculpey Firm. The regular Super Sculpey is a fleshy pink color. The Super Sculpey Firm is grey. This was my first time using the Firm, and I liked it well enough.
Now, maybe I was a little impatient, but I really felt like I was at the point where I could call my sketch-sculpt done. I had added the last of the details except for hair, but I was planning on sculpting her hair after she was baked so I could sculpt over a hard surface.
And so, just like that, the major sculpting had ended. I knew that she wasn't exactly smoothed-out yet, but I also knew that a lot of that could be fixed with sand paper after she was done baking.
That being the case, I decided that I was ready to pop her into the oven, and so I did.

There's something you should know about baking Super Sculpey. If you don't bake it properly, it will crack. To prevent this, I first ignored the directions written on the box that the Super Sculpey comes in, and instead I used baking instructions that were posted on the net by a very talented professional sculptor named William Paquet. Here's the link to the baking instructions that he posted.
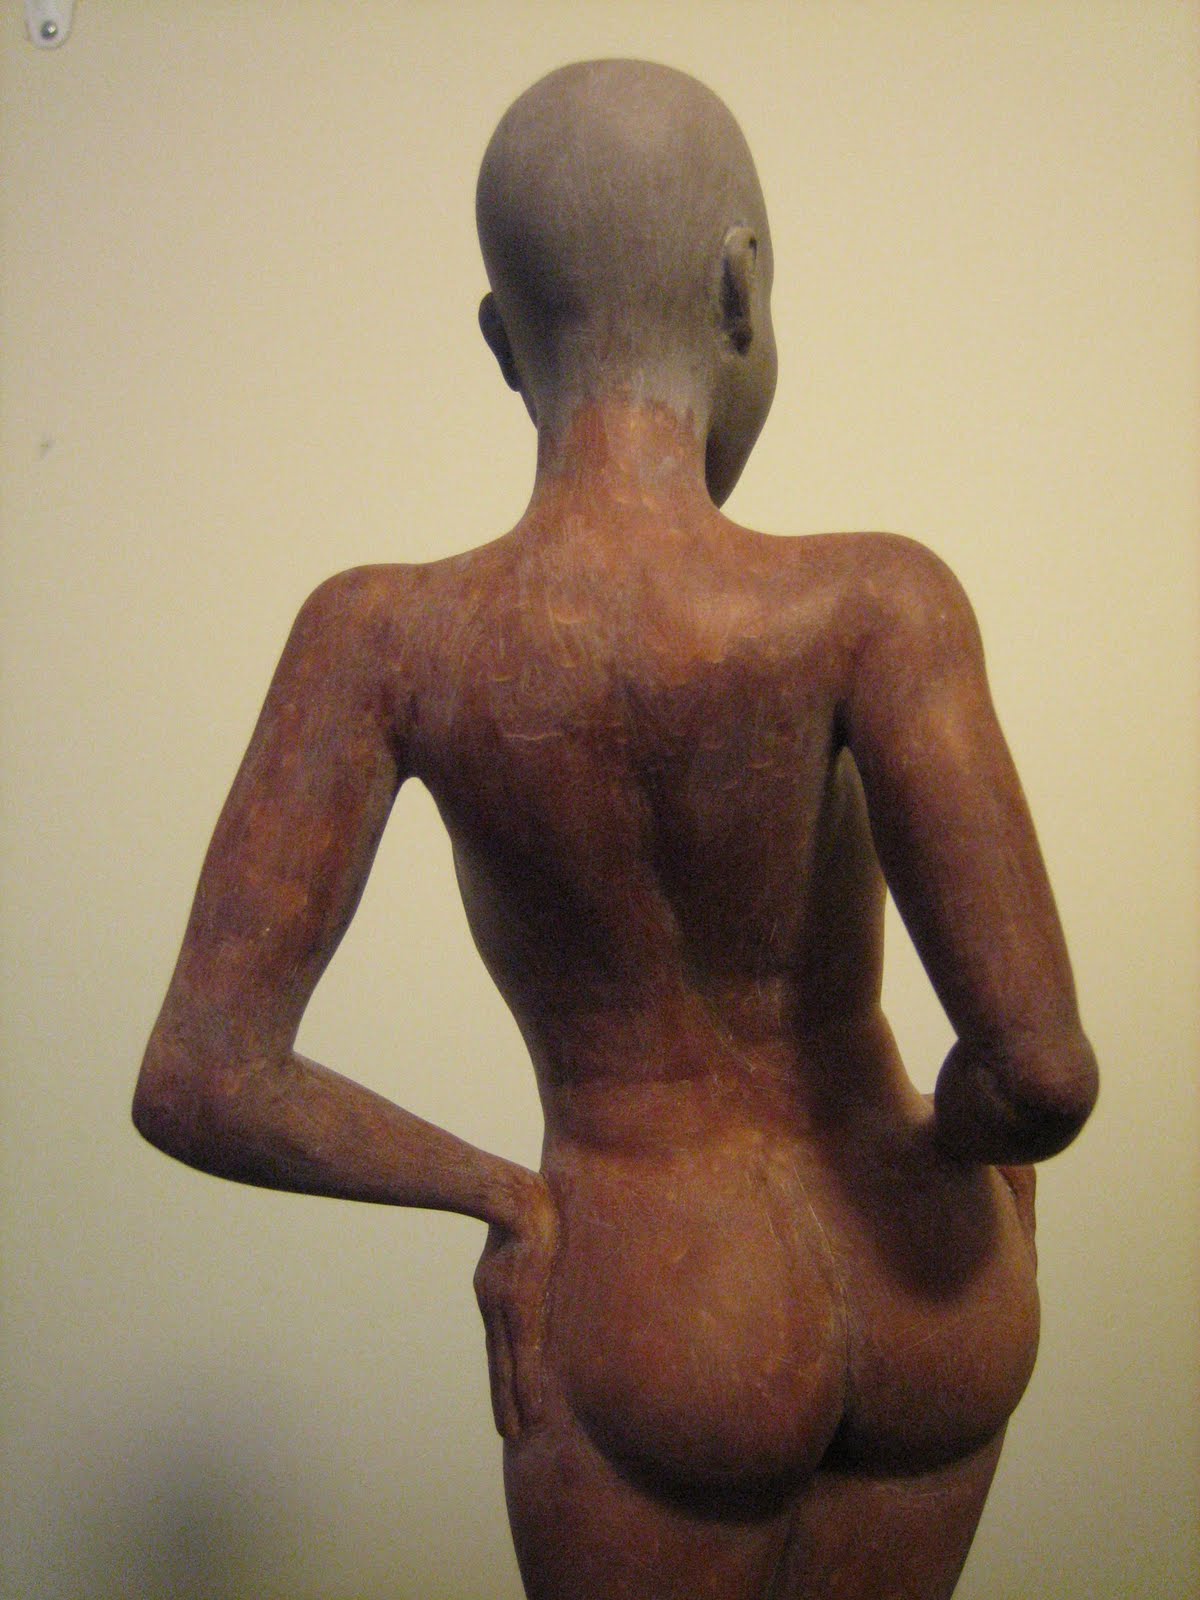
I followed his method and it worked great! My sculpt was evenly baked, and there was no cracking! Here are some pics of the sculpt — post bake...
I followed his method and it worked great! My sculpt was evenly baked, and there was no cracking! Here are some pics of the sculpt — post bake...
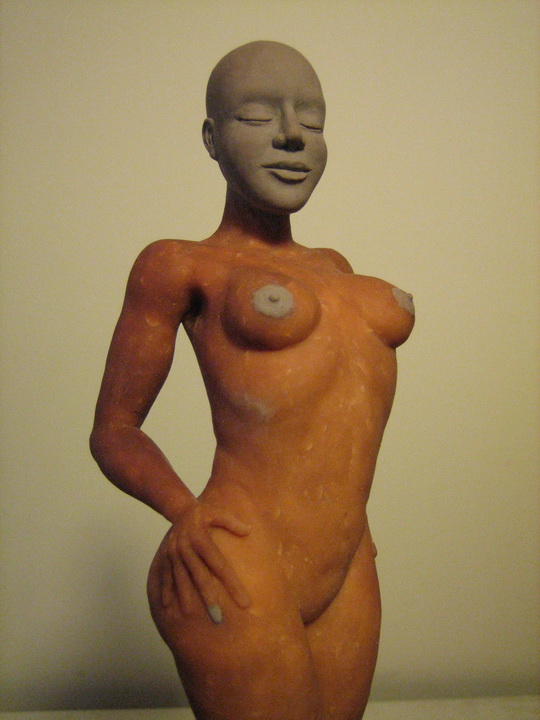

Now that the sculpt was hard and durable, I was really able to feel all the bumps and rough spots on the surface. And so, I started to smooth out these bumps and roughness by giving her a few passes with some fine grit sand paper. As I worked my way through and onto the 2nd and 3rd sanding passes, I switched over to wet-sanding.
Here she is after the initial sand paper sessions...


I also sanded the wooden base that she's standing on. It was covered in primer, but the paint bubbled up during the baking.

So all in all, including the prep-work for the baking, the baking itself, and then the sanding afterwards, I had a busy couple of days, but they were well worth it!
Cheers,
~Tony Preciado


No comments:
Post a Comment