Showing posts with label sketch-sculpt. Show all posts

Thursday, 24 June 2010

Sketch-Sculpt: Part 5

This should wrap things up on my sketch-sculpt.

After I finished the initial sanding passed, I added a couple coats of grey primer. I wet-sanded between each coat of primer, and then I gave her a final polishing with a scrap piece of cotton cloth.

It was great to see my sculpture reach this point, and it was particularly cool that it was so solid and durable after the baking. It's held up to all the handling and sanding without cracking or breaking, which is great because I've got one last thing to add: her hair.

And now she's finished. (Well, at least for now she is.)

It feels really great to have taken this sculpture this far. I learned a lot as I worked my way through the entire process. If I were to critique my own piece, I would not find it without fault. I see a lot that could be improved in both her pose and in her anatomy . Maybe someday, I'll address these issues. I've actually contemplated making a mold, casting her in wax, and making revisions to her in that form, but for now... I'm calling this one done!

Cheers!
~Tony Preciado

Thursday, 10 June 2010

Sketch-Sculpt: Part 4 — Baked goods

So, before I keep going on about the process, let me give you some specifics about the materials involved. My armature, as I mentioned in previous posts, is mostly fashioned out of a coat-hanger and a thinner gauge aluminum wire. Besides that, I didn't use any internal fillers (like foil) to build out the thicker areas of the clay. I'm not a fan of fillers.

As for the clay itself, I used a polymer clay called Super Sculpey. It's a very soft material, and it takes a little bit of getting used to, but, once you do, it's really great stuff. On the plus side, it isn't oily (well, not much anyways), it takes great detail, and it is widely used by many professional sculptors and effects artists. But possibly the best things about Super Sculpey is that, after you're through sculpting with it, you can bake it in an oven to make it hard. Once the Super Sculpey is hard, you can sand it smooth and paint it.

For my sketch-sculpt, I used two different grades of Super Sculpey: Super Sculpey and Super Sculpey Firm. The regular Super Sculpey is a fleshy pink color. The Super Sculpey Firm is grey. This was my first time using the Firm, and I liked it well enough.

Now, maybe I was a little impatient, but I really felt like I was at the point where I could call my sketch-sculpt done. I had added the last of the details except for hair, but I was planning on sculpting her hair after she was baked so I could sculpt over a hard surface.

And so, just like that, the major sculpting had ended. I knew that she wasn't exactly smoothed-out yet, but I also knew that a lot of that could be fixed with sand paper after she was done baking.

That being the case, I decided that I was ready to pop her into the oven, and so I did.

There's something you should know about baking Super Sculpey. If you don't bake it properly, it will crack. To prevent this, I first ignored the directions written on the box that the Super Sculpey comes in, and instead I used baking instructions that were posted on the net by a very talented professional sculptor named William Paquet. Here's the link to the baking instructions that he posted.

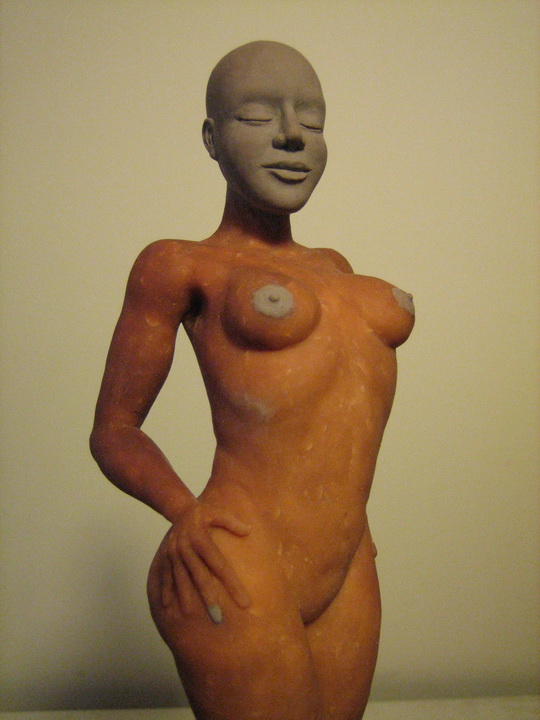
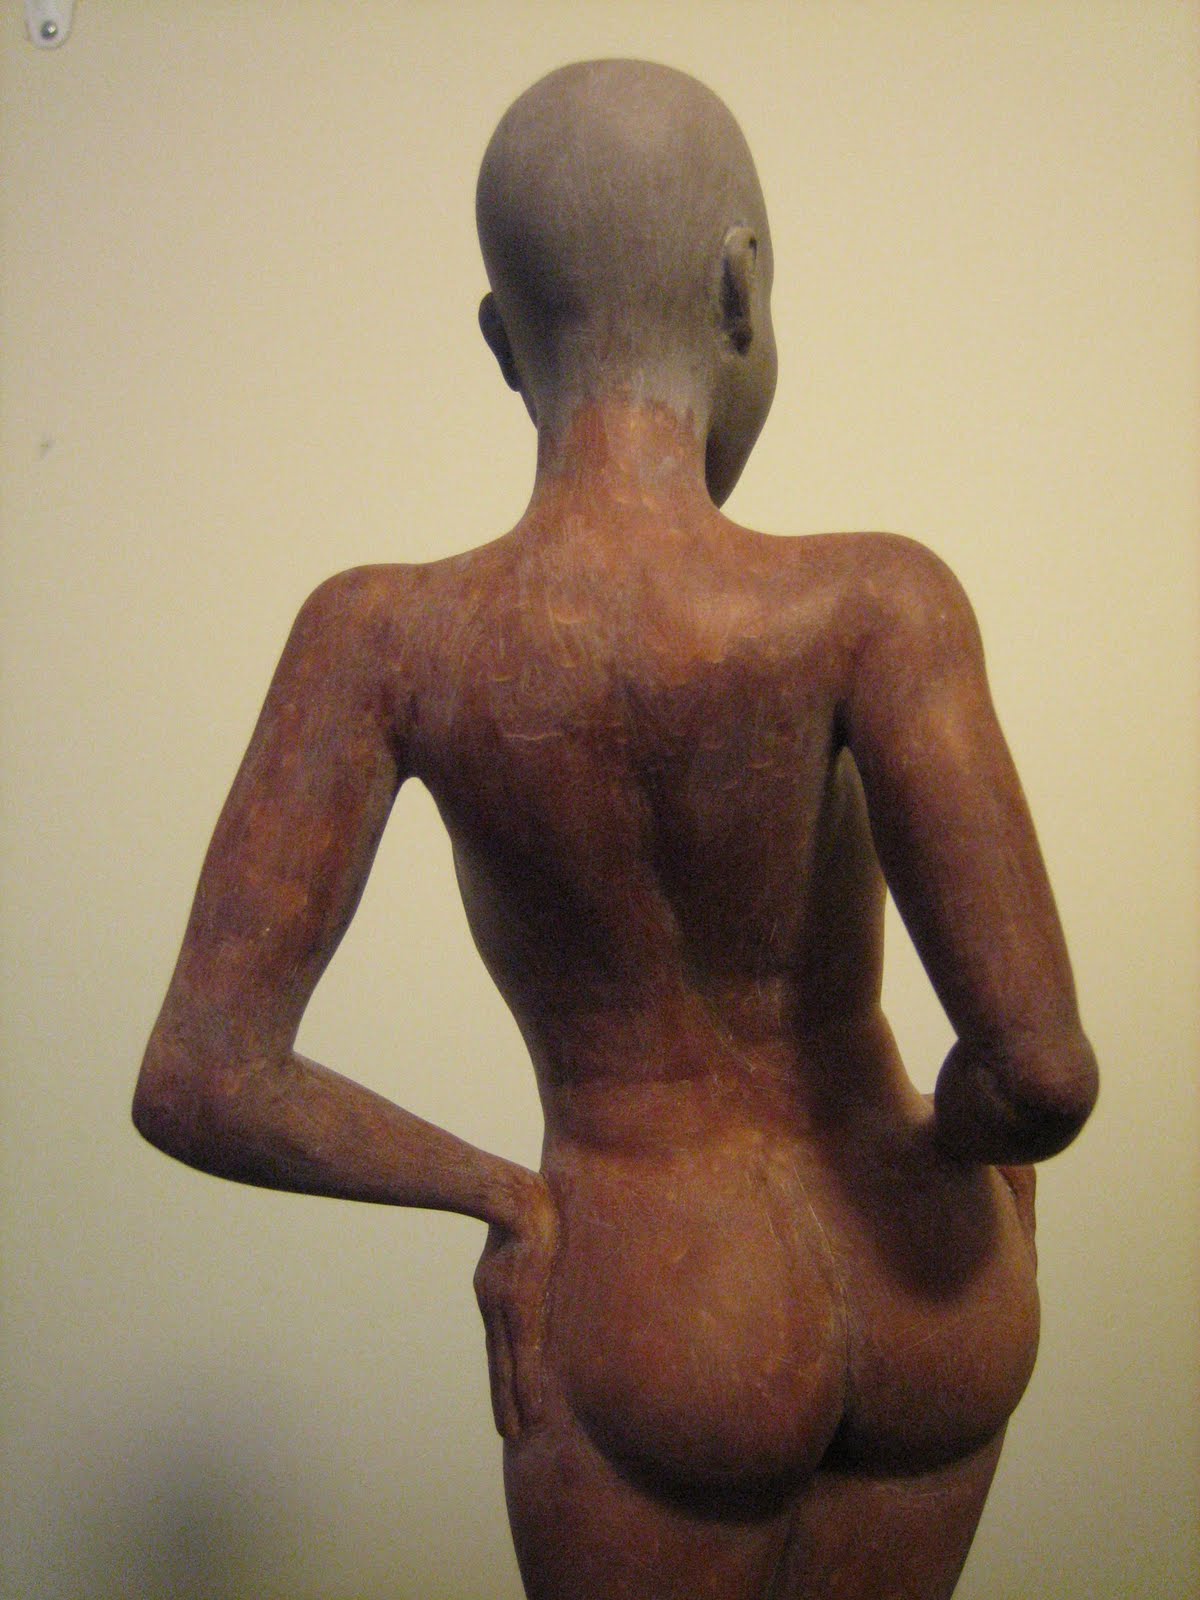
I followed his method and it worked great! My sculpt was evenly baked, and there was no cracking! Here are some pics of the sculpt — post bake...

You'll note that the baking darkens the original color of the Super Sculpey, but don't worry, that's a good sign. The darker color lets you know that it's been cured and has hardened.

Now that the sculpt was hard and durable, I was really able to feel all the bumps and rough spots on the surface. And so, I started to smooth out these bumps and roughness by giving her a few passes with some fine grit sand paper. As I worked my way through and onto the 2nd and 3rd sanding passes, I switched over to wet-sanding.

Here she is after the initial sand paper sessions...


I also sanded the wooden base that she's standing on. It was covered in primer, but the paint bubbled up during the baking.

The sand paper worked great, and now she was definitely a lot smoother.

So all in all, including the prep-work for the baking, the baking itself, and then the sanding afterwards, I had a busy couple of days, but they were well worth it!

Cheers,
~Tony Preciado

Sunday, 16 May 2010

Sketch-Sculpt: Part 3 — Time to be brave

If you keep investing time and effort into a piece, you'll see it develop, evolve, and improve as you go along, but only if you're prepared to make some brave choices.

As I kept on, with giving my sculpture it's 3rd, 4th, and 5th passes, I kept noticing that there were recurring problem areas. As I found these areas, I would spend my time trying to correct them, but the more time I spent on them, the more I realized that these problem areas would not be easy fixes.

This is when I realized that my sketch-sculpt had moved away from the relative safety of being: "just a sketch." I had hit a cross-roads. Should I end it here? Maybe start a new and completely different sketch-sculpt? Or, should I continue on with this piece and push myself toward having something more than just a sketch?

I decided that it was time to be brave and see how far I can take this sculpt. So, that meant that it was time to tackle the big fundamental problems: Armature, Scale, and Anatomy.

If you take a look at the picture above (ignore the horns), you'll see that the sculpture is in a very general state, with no definition to any muscle groups, or great attention to scale (her head is huge,) or anatomy. This may be fine for a sketch, but now my goal was more realism. So, I started by gathering more anatomical reference, and taking a much closer, and analytical, look at my sculpt, and then I started in on making the changes.

In some cases, the scale/anatomy problems in the sculpt were because of the armature underneath the clay not being in the right place. Fixing the armature would be a pain, especially since I used a coat-hanger instead of actual (aluminum) armature wire, but after assessing my options, I figured that there was nothing for it. So...

... I ripped off her head and tore off her right arm, and adjusted the armature as best I could . I also decided that I would try using a firmer grade of sculpey for the re-sculpt of her head. My thinking there was that it would be easier to get finer detail (for the eyes, nose, and lips) at that scale with a firmer clay. After those big changes were made, I kept on with trying to get her anatomy, scale, and other details to look right. After a few more passes ( 6th,7th 8th, and so on), she looked like this...


As I reached this stage of the sculpt, I was happy that I had made the decision to push forward.

This latest level of detail, although still somewhat stylized, brought this sculpture up to a new level of appeal and interest. It seemed that she had more presence. Even as she stood there in silence, she was saying more. She was now expressing something, maybe not a lot of something—but something none the less. Well, at least to me she was, and for me, the sculptor, that was a very good payoff for being brave.

Cheers,
~Tony Preciado.

Monday, 22 March 2010

Sketch-Sculpt: Part 2

When I started out on making my sketch-sculpt, I only knew two things: I wanted to sculpt a woman, and I wanted the pose to be dynamic. I wasn't concerned with realism or with detail yet. I didn't even know how far I was going to take it. I just wanted to do something that had some energy and appeal. So, first thing I did was flip through a few art books for reference. I decided to go with something out of Shane Glines' Cartoon Retro book. His sketches always have a lot of character and I thought this would help make a great foundation for a sculpture. Here's the drawing (to the left) that I made for myself based on one of his sketches. I scaled it up (by eye) so that I'd be able to build my armature off of the dimensions of this drawing. I made the drawing so that the sculpture would be about 8 inches tall.

At this point I was working very quickly. I was not at all concerned with being too percise. I was in "just a sketch" mode. This was a good thing though, because before I knew it, I had cut up a coat-hanger, bent it to represent the form I was going to sculpt, and started building up my clay onto it.
By the end of the day, I had, in my mind anyways, finished my first sketch-sculpt. I was happy. Even if I had stopped here, it would have been a great exercise. I had fun finding the shapes in the sculpture, and also in translating the 2D concept sketch into a 3D version. As I went along, I made decisions that pushed the sculpt away from the notable stylized look of the pencil sketch and more into realism, but even as I did this I always tried to hold onto the original energy of the pose, and certainly any exaggerated qualities of the body's shapes that were a direct result of the original stylized design. It was clear that those stylized elements were enhancing the overall appeal of the sculpture's silhouette.
Now, as you've probably noticed, I only had a concept sketch for the front of this sculpture, and nothing for the back. So, when I got to working on her backside, I just kept as consistent as I could with how I had started on her front. It was all about the shapes of the body parts at this point, and not really about true anatomy, so I just kept at it in the same fashion as when I did the front. In any case, not having reference for the back was nothing to worry about at the time because this sculpture was just a sketch. Here's the back:
After this point, I completely stopped relying on the reference drawing that I made. It had served it's purpose. It gave me a great starting pose with lots of style, energy, and attitude, but beyond that it didn't really apply anymore. The sculpture was starting to do it's own thing at this point, and I was happy to head in this new direction.

My next post will cover the next few revisions that my sketch-sculpt went through, which includes adding in a lot more detail such as hands, feet (or shoes rather), and a face. But, that being said, I just want to take a moment to say something about this first early stage. Even though the sculpture, as you see it now, is lacking in great detail, this was one of my favorite times to have been working on it. There's something about the very beginnings of a sculpture that are very rewarding, very exciting, and lots of fun! I'm glad I took these photos at this stage because it's like keeping a record of this original sketch before I scribbled all over it to get the next refined iteration.

Cheers!
~Tony Preciado

Saturday, 6 March 2010

Sketch-Sculpt: Part 1

We all need a kick-in-the-ass sometimes. I got one last year. It was while I was visiting an art blog where an artist made a striking sculpture that caught my attention. That particular art blog belongs to the Process Junkie, Mr. Lucio Alberto Ruiz-Diaz. He's a very talented artist, and his sculpture is really great, but the thing that grabbed my attention the most about his sculpture was his approach. He treated his sculptures like sketches. He would build his armatures out of coat-hangers, styrofoam, and anything else that served the purpose. Then he'd just go-to-town on it with his box of clay and whatever sculpting tools (make-shift or not) that he had on hand. In short, he didn't make a big production out of it. He just did it. After all—it was only a sketch.

This hit me like a ton-of-bricks! You might call it a form of inspiration, but it wasn't just inspiration that got me going. Something else was at play. I felt challenged by the simplicity of the process. It's just a sketch, right? I can do a sketch-sculpt. I have some extra coat-hangers. I have those same tools. Heck, I even have clay!

Maybe it was the challenge, or maybe it was a much needed distraction from my work, or maybe I finally realized that sculpture was something that I've always wanted to do. Whatever the reason, I'm glad for it because it worked.

It was on a Sunday, sometime in the afternoon. I grabbed a coat-hanger, a pair of vice-grips, some duct-tape, and a small wooden base, and I started my first sketch-sculpt.
This is where my sketch-sculpt stands so far. I'm not quite done with her yet. She'll go through a few more changes before I'm through, but that's ok because it's just a sketch. A sketch can change. A sketch can be altered, refined, and even played with. A sketch is a learning tool, and this one has taught me a lot! It took me several months to get to this point, including many do-overs and adjustments, and I'll go over some of the steps I took to get here in my next post.

One last thing. Getting started on sculpture wasn't the only kick-in-the-ass I got last year. I also got a good one from Tippett Studio that helped me pump-up my animation skills while I was working there as a character animator (those guys are amazing!), and another kick from all my pencil-pushing artist friends to start doing more drawing, and yet one more kick that I gave to myself to put up this art blog. That last kick finally worked.

Welcome to my first post!

Cheers,
~Tony Preciado.